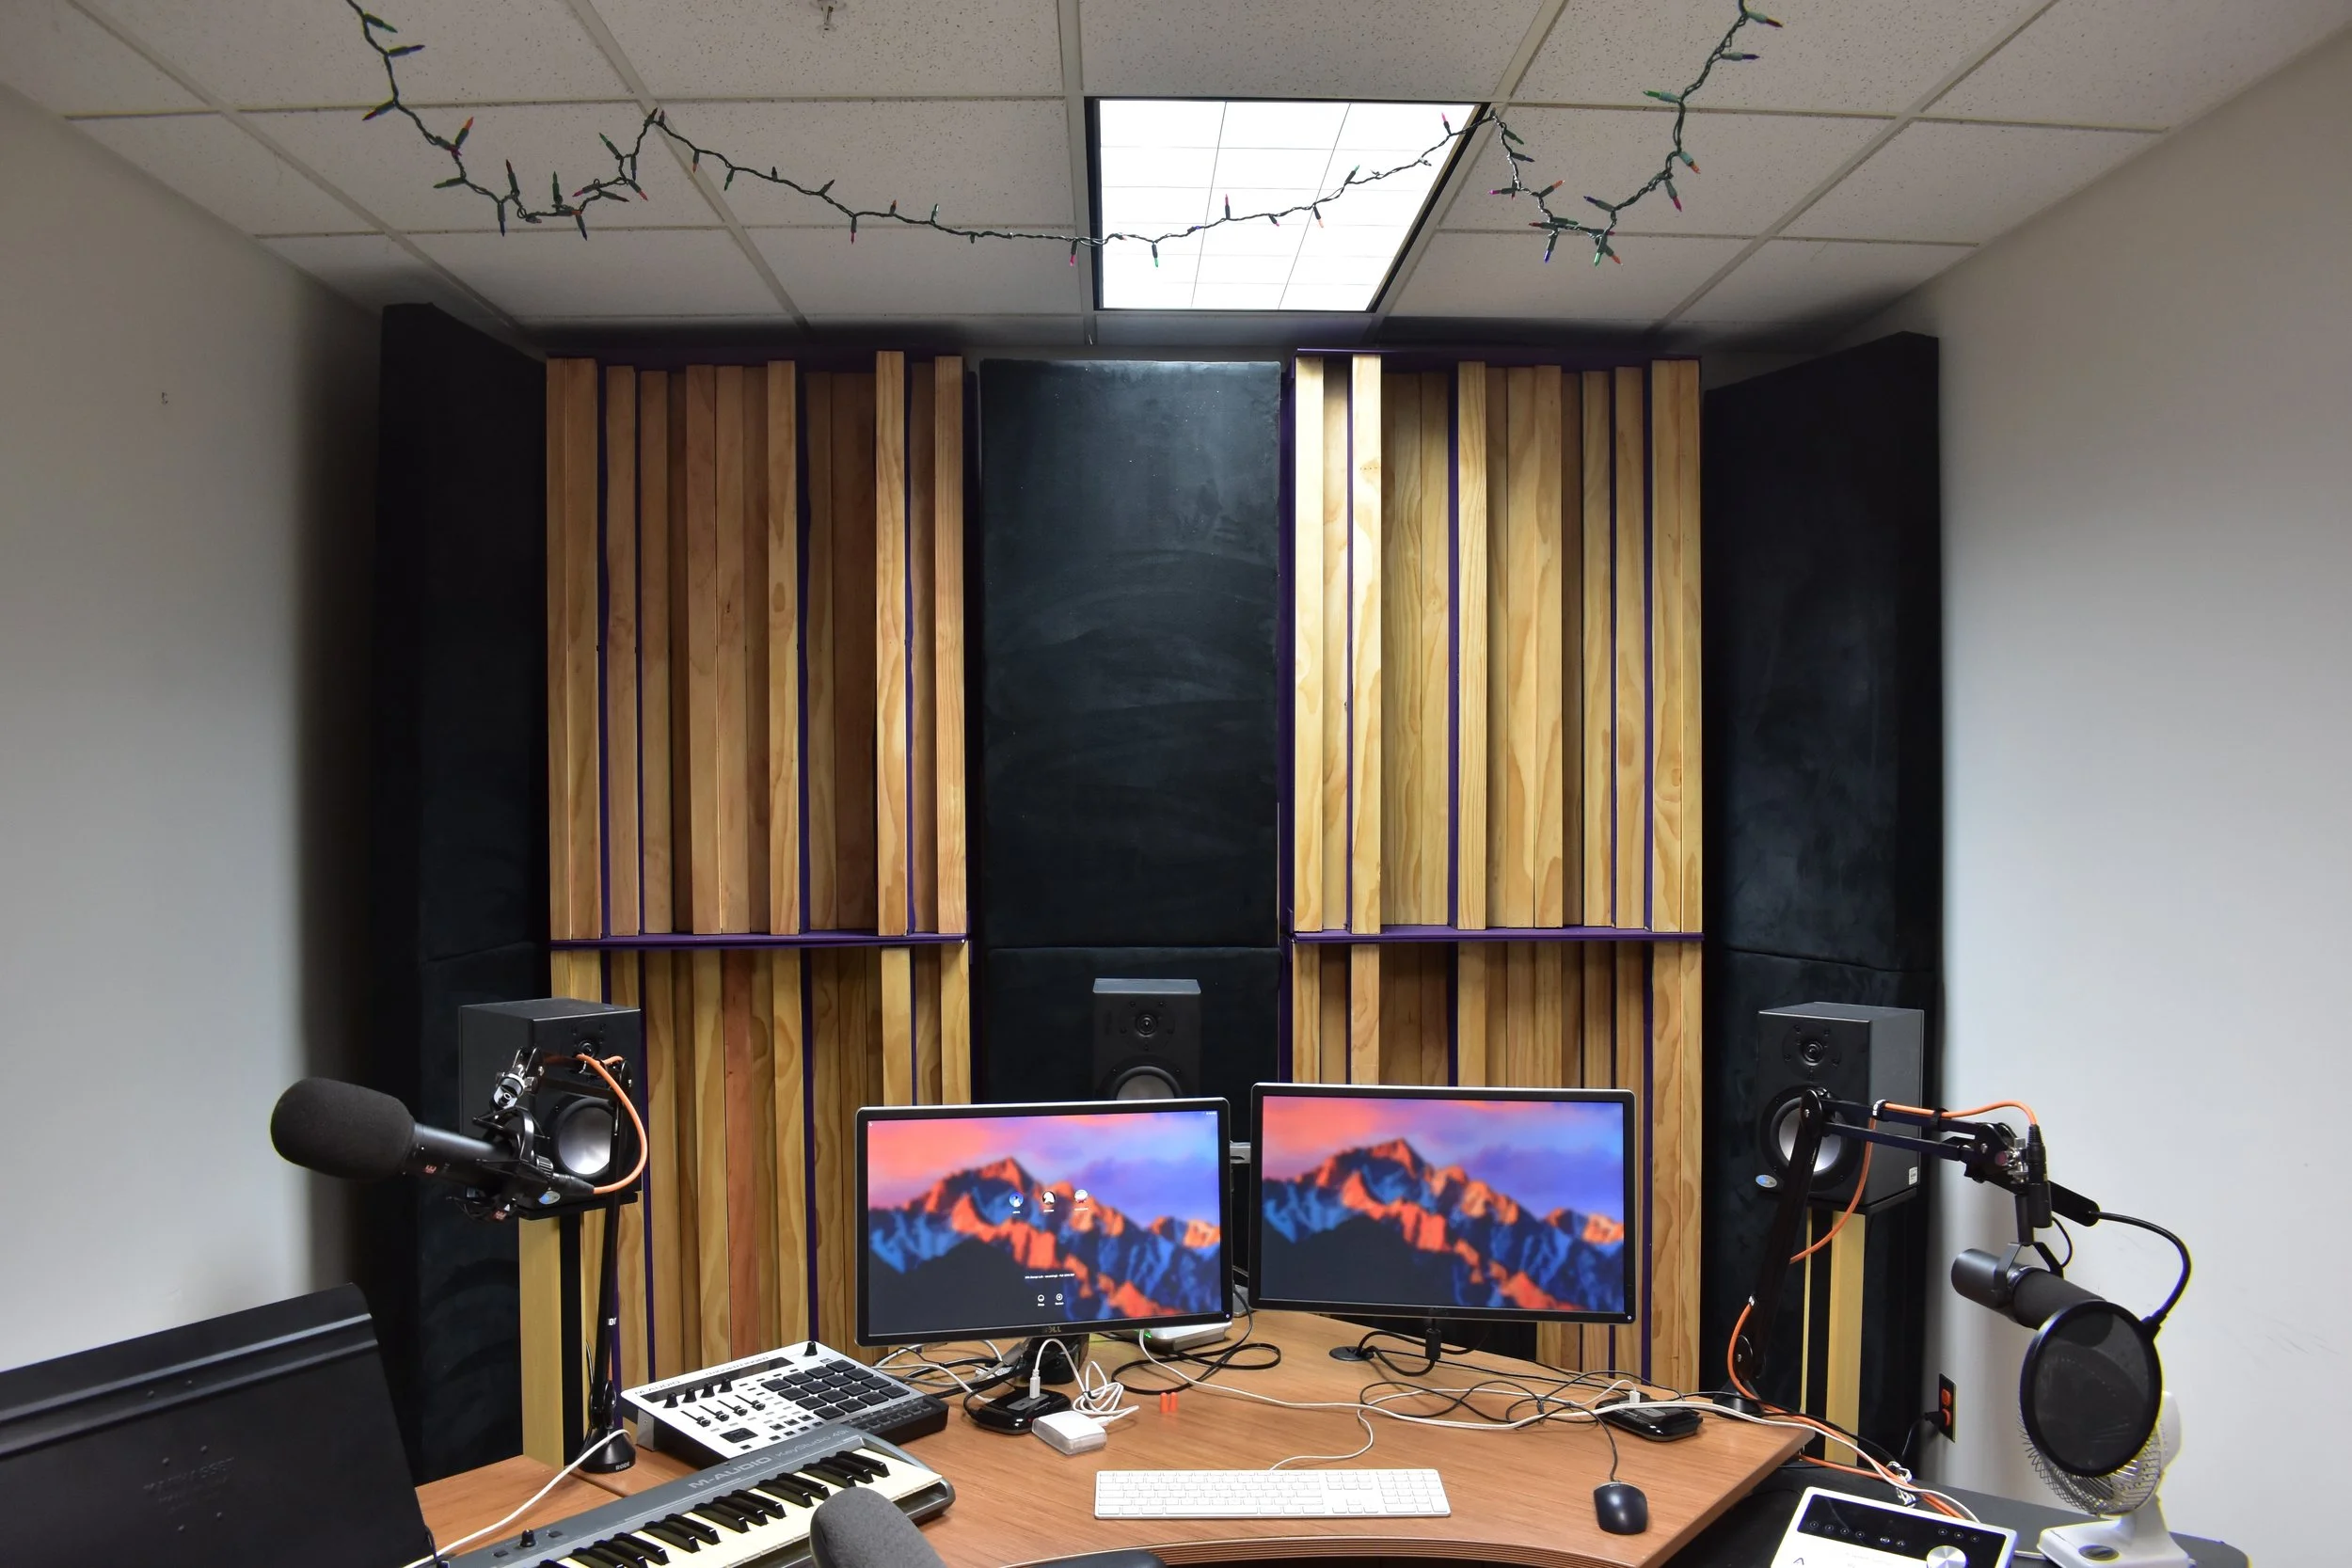
Ensemble Room
Acoustics Project
Spring 2016 - Spring 2017
Henry Sendek, Sam Palumbo, & Michael Chopp
Table of Contents:
Original Conception
Acoustic Testing
Original Prototype
Acoustic Proposal
Full-Scale Prototype Design/Build
Final Implementation

The original premise of the Ensemble Room Acoustic Project was to come up with a plan to improve the acoustics of the small, oddly shaped room for both mixing and ensemble rehearsals. We were given a few pointers on where to look and who to ask for information, but otherwise we were able to determine the direction of the project.
At the end of our first semester on the project we had come up with a solid, but ambitious plan to redesign the entire Ensemble Room. It involved covering two whole walls with diffusers, placing bass traps in the corners along with on top of the, almost, ceiling high diffusers, and trading out a significant number of ceiling tiles with T-Fusors. Tasked with implementing our massive plan for our second semester on the project, we decided to tackle the problem of manufacturing the diffusers at a cost effective price range, while still maintaining an easy build overall. We decided to try our luck at CNC routing for top and bottom plates that would hold ribs, that had been dado'd and rabbet'd, before stapling acoustic cloth throughout the ribs to hold fiberglass insulation inside the diffusers (this way our diffusers would also be working as giant bass traps).
We were unable to fully implement our Ensemble Room plan by ourselves, so it has currently been set aside to be finished at a later date. However, we were able to build a full-scale diffuser (and three more with some help) that was then installed in the CAML Design Lab. The four diffusers now live in the CAML where they have greatly improved the acoustics of the room - a simple but much needed change.

Acoustic Testing
One of the main goals of the Ensemble Room Project was to increase the usability of the small, oddly shaped room. We took acoustics measurements of the room (using Fuzz Measure to send sine-sweeps through a pair of JBL308 monitors to measure the frequency response of the room) changing the location of the "mobile rig" (the all-in-one workstation located in the room) to find the best placement in the room before we added acoustic treatment.

Trial Run
These two diffusers were the first that we ever made after coming up with the design. They were created to test two different methods of attaching fabric, two different methods of cutting the fabric, two different methods of attaching the wooden ribs, and whether or not the diffusers would have any strength once they were assembled.
The following is the acoustic proposal we submitted to our faculty members and administration after our semester of working on the Ensemble Room Acoustic Project.


After the proposal was approved, but we realized we weren't going to have enough time to implement out design, we designed a smaller (but still full-scale) version of our diffusers to build/install in a different room (CAML Design Lab).


The ribs for our diffusers after they had been precut on the table saw to match our design of utilizing dados and rabbets to piece the diffusers together like a puzzle.
The process took about 4 hours to complete (much of which was the learning curve we had to go through as none of us had used a dado-blade on a table saw before) and was made more complex by multiple warped boards.

Finished Product
We were able to build one, full-scale diffuser before the semester/project ended. Our model was referenced as three others were built using our plans before being installed.

Diffuser Testing
We took the finished, full-scale diffuser over to an acoustics lab on Michigan Tech's campus to test the diffusers in an anechoic and a reverb chamber. We were testing to see how well our design functioned as a diffuser (in the anechoic chamber) and how well it functioned as an absorbed (in the reverb chamber).
Once we had finished building our full-scale diffuser, and the semester was only a day away from finishing, we wrote up a set of instructions that could be followed on how to finish the other three diffusers and install them into the CAML Design Lab.


After the prototypes of the diffusers had been completed they were installed in the VPA Department's CAML Computer Lab. The Ensemble Room plans were then set aside - to be implemented at a later date.

CAML - Computer Lab
The diffusers were installed in a similar fashion to the method that we had requested when they were going to be installed in the Ensemble Room. The addition of the absorption panels in between the diffusers was decided after the diffusers were set to be installed in the CAML.